Deploy Machine Learning Models
Motivation
Sharing reproducible Machine Learning (ML) models and experiments is very important for our team. It allows us to better understand how ML models work as well as test model environment before deploying it in production. As models become more and more complex, managing shareable code dependencies, artifacts, system libraries, and drivers becomes rather daunting. Because of their simplicity, System Containers became our go-to tools in our day-to-day work, virtually eliminating the dreaded dev/prod parity problem.
In this example we’ll use Bravetools to configure, build, and deploy a GPT2 model using a simple streamlit application.
Prerequisites
Project setup
The project follows a simple structure:
.
gpt2-deploy
|	Bravefile
|	gpt2_run.py
|	supervisord.conf
Bravefile- provides an end-to-end description of our service, including build and deploy procedures.gpt2_run.py- a small streamlit application that allows us to interact with GPT2.supervisord.conf- configuration script that controls and monitors the streamlit app.
All files can be downloaded from our repository.
Application Script
gpt2_run.py script uses the Huggingface Transformers library to deploy a pre-trained GPT2 model using a streamlit web server, allowing client-side interaction with the model.
Supervisor Configuration
We’ll need a nice way to monitor and control our streamlit application. Supervisor is a great tool for the job, requiring just a few lines to set up. Let’s take a look at the top section of our supervisor configuration file:
[program:streamlit]
command=streamlit run /root/gpt2_run.py --server.port 8501
autostart=true
autorestart=true
startretries=10
user=root
redirect_stderr=true
stdout_logfile=/var/log/streamlit.log
stdout_logfile_maxbytes=50MB
stdout_logfile_backups=10
Supervisor will launch the streamlit script on port 8501 and, in case our environment goes down, it will attempt to autostart the app.
Configuring application environment
Now it’s time to package all of these little bits into a self-contained System Container! We begin with a Bravefile that describes our system with all of its dependencies. For this application we’ll use an Ubuntu 18.04 image from the LXD image server and bundle in python3 and supervisor.
base:
  image: ubuntu/bionic/amd64
  location: public
packages:
  manager: apt
  system:
  - bash
  - python3
  - python3-pip
  - supervisor
Next, copy over the streamlit application and supervisor configuration:
copy:
- source: gpt2_run.py
  target: /root/
- source: supervisord.conf
  target: /etc/supervisor/conf.d/
Now let’s install required libraries and fetch the model:
run:
- command: bash
  args:
  - -c
  - python3 -m pip install --upgrade pip
- command: bash
  args:
  - -c
  - python3 -m pip install tensorflow transformers streamlit
- command: python3
  args:
  - -c
  - |-
    from transformers import TFGPT2LMHeadModel, GPT2Tokenizer;
    tokenizer = GPT2Tokenizer.from_pretrained("gpt2");
    model = TFGPT2LMHeadModel.from_pretrained("gpt2", pad_token_id=tokenizer.eos_token_id)
Finally, we need to allocate some hardware resources and version control our container image:
service:
  image: gpt2-streamlit-1.0
  name: gpt2-streamlit
  docker: "no"
  version: "1.0"
  ip: ""
  ports:
  - 8501:8501
  resources:
    ram: 4GB
    cpu: 2
    gpu: "no"
If you’d like to allocate a static IP to your application, just specify it under the ip field. Notice that since streamlit will be running on port 8501, we are mapping that port to host to make sure that the application can be accessed through a local web browser.
Build
With the Bravefile finalised, we’re ready to build our application!
brave build
When the build finishes, we can check that the image has been successfully added to Bravetools local image store:
brave images

IMAGE                           	CREATED    	SIZE 	HASH
gpt2-streamlit-1.0              	just now   	2GB  	aece474334bd5599c6948fe984e9d866
We’ve got ourselves a self-contained environment with Tensorflow, GPT2 model, and a streamlit app all managed by supervisor and ready to be deployed and shared - not bad!
Deployment
Deployment is easy:
brave deploy
Once finished, we can check the status of our live system container:
brave units

NAME            	STATUS 	IPV4      	VOLUMES	PORTS
gpt2-streamlit  	Running	10.0.0.191	       	8501:8501
If you’re on a Linux system, simply navigate to 10.0.0.191:8501 in your browser to have some fun with GPT2. If you’re on Windows or a Mac, find our the Multipass IP of your lightweight Bravetools host:
brave info

NAME               	STATE  	IPV4          	DISK       	MEMORY      	CPU
bravetools-machine	Running	192.168.178.59	4GB of 97GB	16GB of 41GB	8
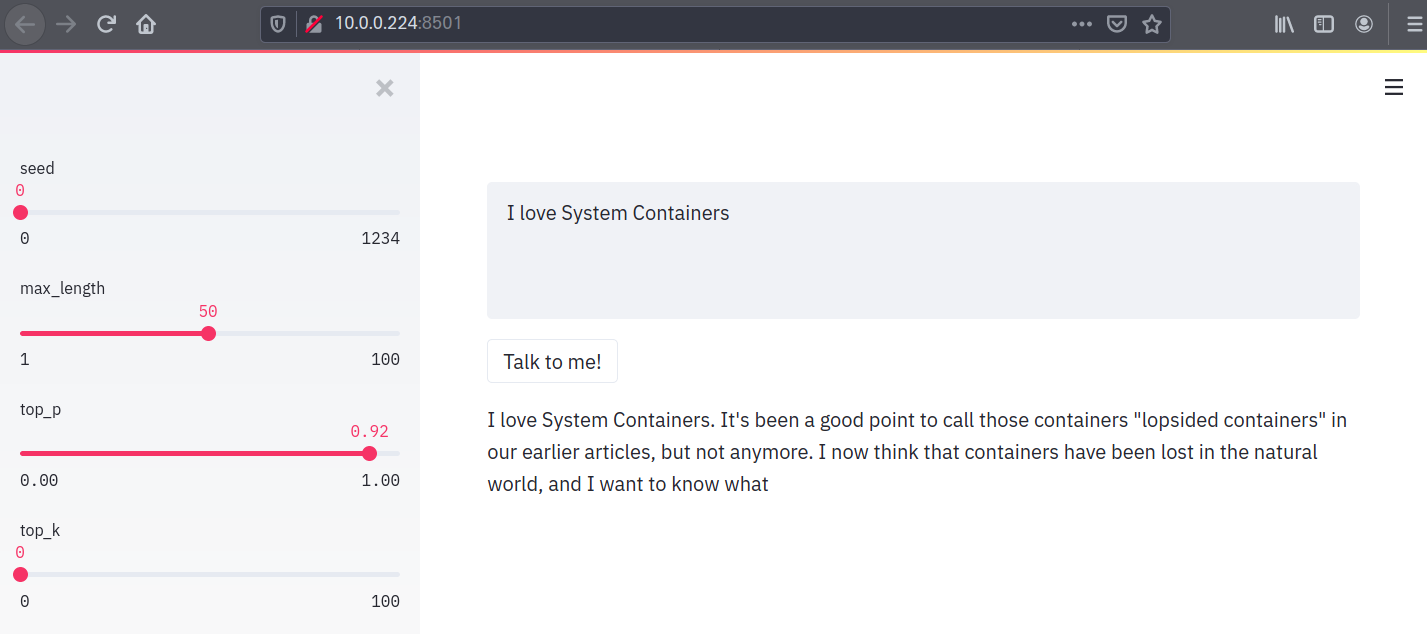
Launch 192.168.178.59:8501 and have fun!
Sharing
Sharing this application is trivial. Simply publish it:
brave publish
This will produce a tar.gz file, which can be imported and deployed elsewhere:
brave import gpt2-streamlit-20201201082229.tar.gz
brave deploy gpt2-streamlit-20201201082229 --name gpt2-streamlit --port 8501:8501
Adding GPU Acceleration
Supercharging this set up with a GPU is pretty simple. First, make sure that your host hardware is configured with the appropriate drivers. Next, you need grab a base unit with the required CUDA toolkit. We have already provided this for CUDA 10.1:
brave base github.com/beringresearch/bravefiles/ubuntu/ubuntu-bionic-cuda101
NOTE: the build will take some time since CUDA is huge!
Edit your Bravefile and point base to the locally created ubuntu-bionic-cuda101 image, changing its location to local.
base:
  image: ubuntu-bionic-cuda101-1.0
  location: local
Finally enable GPU passthrough in the Bravefile service section:
service:
  resources:
    ram: 4GB
    cpu: 2
    gpu: "yes"
Run brave deploy and enjoy the power of GPU acceleration!